Saturday, July 28, 2018

desk organizer

Hello crafty friends,

I would like to share with you all a desk organizer I made for a lovely friend.

I started with memory box stencil and rangers modelling paste.
Once I covered both the parts with stencil I allowed it to dry for 24 hours.
I took shimmer colours from Recollections.

 For the floral design I used archival inks. Blended them well.


Once I was happy with the outcome, i covered the complete piece with varnish from Asian paints.


Here is a small video to show how beautiful it turned out.


Hope you all will like it and try it.

Thank You
Vrajangna

Friday, July 13, 2018

Baby girl album with carriage


Hello crafty friends,
I am very excited today to share with you all my new work.
I created a baby carriage to keep the gift in it and the base box carries baby album.
Made it for a customer who wanted something unique yet elegant and childish.

So i came up with this idea using various paper packs from different companies and chipboard.
its easy to click pics but hard to go back and relish all the memories, so i feel a baby album is the perfect thing that you can gift someone to cherish the memories for lifetime.


I was unable to click much pics of the album but would love to share the video.


The gift was packed in matching net shimmer cloth with unicorn eyes.

Few close up pics of box and album.


Here is the video of album with different embellishments to add naughtiness and smile like kids add to our life.

Hope you all will love it.


Sunday, May 13, 2018

Decoupage tea coasters

Hello friends,
Hope you all having a great weekend with your mom's.
Well today I have something I made for my mom.
She likes peacock a lot so got the peacock feathers printed on 180 gsm papers. 
I started by painting the raw mdf coasters with green metallic paint I got from local store.
Once dry I generously applied modpodge and adhered the feather printed paper over the coaster.
Repeat the process for all coasters.
Allow it to dry.
Once dried I used Asian paints clear varnish to coat the coasters to make them waterproof.
I applied 2 laters of varnish, but make sure first coat has dried completely before applying 2nd coat.

Once thevarnish dries you can see coasters shining like glass. I hope you can see the shine in above pic. 
That's it, my coasters are ready.
Hope you all like it.

Happy Mother's day to all lovely mothers out there.

Thank You.

Birthday wishes

Hello friends,
Posting after a long time.
This time I would like to share my first try in altenew stamps and my own spray paints made using sketch pens.

For the first card I sprayed blue and bit of pink spray on watercolour paper.
Added die cut from spellbinder dies, coloured the altenew flowers with zig clear brush and arranged it on the die cut. Assembled everything and added sentiment from itsybitsy and heat embossed it with wow embossing powder. Adhered the complete watercolour paper on maroon metallic sheet.


For second card i stamped the image on watercolour paper, heat embossed with wow gold embossing powder. Coloured the image with zig clear brush colours. Covered the images with post it and sprayed the background. Again sentiment is from itsybitsy. Finally adhered it on golden cardstock.

Sorry for the quick post. But I hope I was able to explain the process.


Thank you.


U would like to enter my cards in following challenge.

Saturday, February 24, 2018

Elegant Ring platter

Hello friends,
Today i am showcasing a ring platter which was a challenge for me. One of my friend just sent me a pic from Pinterest that she wants similar ring platter and that too in such a short span.
But was really happy to see her smiling and satisfied face.

Ok let's have a look at the ring platter.
I have not taken step wise pics but will surely explain the process.


First I took circular plywood. Coated it with white acrylic paint and then covered it with baby pink silk cloth. I used silicone glue from itsybitsy. It's a super glue.

Then I took black chipboard and rolled it and covered it too with silk cloth.
Later I adhered the circular piece to plywood to form the platform.

I covered the circular piece with a slight bigger diameter chipboard so that the ring holders and the couple could be rested over it.

I used kitchen tissue roll for the pillars of ring holders and the couple.

Repeated the same process of covering them with silk cloth.

Once all parts were ready I started forming the structure and made tulle with a lighter shade net cloth and attached on the rims as seen in pic.

Used half pearls to give a bit elegant look.

I covered normal sponge with silk cloth and adhered it to the holder with silicone glue.

For the backdrop,I first took a chipboard strip and covered it with golden lace. Folder the ends and inserted inside the circular platform.

Created plits in the net and then attached it the chipboard.

Decorated the backdrop with artificial golden flowers.

Few pics of platter when in the making


Hope I explained properly and you must have liked the end result as much as

Thank you,
Vrajangna.

Saturday, February 3, 2018

Celebrate the relation

Hello crafty people,
It feels like i am back to blogging after ages.
Well today i have a special album to share made for a sister from her siblings.
Sisters are always special may it be for quarreling or getting our work done or helping to convince mom/dad.
For this album i have used few previously released papericious paper pack and few newly launched paper packs.
Let me take you to the album tour,
There were so many memories to store so i created 2 accordian fold inserts to store more pictures.

Cover made with itsy bitsy chipboard frame, handmade and itsybitsy flowers, Kaisercraft butterfly stamp in background, archival and distress inks.

Page 1,2


Page 3, 4


Page 5,6


Page 7,8


Page 9,10


Page 11,12


Page 13,14


Side cover, used handmade tassel and a wooden heart cutting , which i covered with glossy accent and sprinkled some twinklings fairy dust.
I have used many spellbinders and unbranded dies with new and old paper pack from papericious to create this wonderful piece of memory.

Hope you all will love this creation of mine.

Would like to enter my creation in ongoing papericious challenge


Wednesday, September 27, 2017

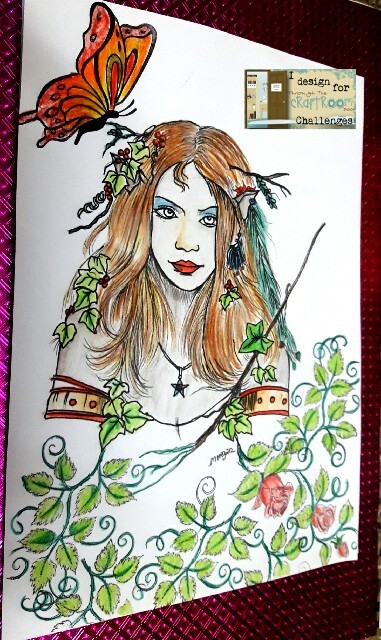
Fae-12 Morgan's art world

Hello friends,
Vrajangna here with an inspiration post for the "through the craftroom door challenge group". This week our generous sponsor is Morgan's Art world. they have beautiful collection of stamps to drool over.
I have used Fae 12 image for my post.
I have used Faber Castle watercolour pencils, Heartfelt stamp and butterfly stamp to create a background.
 
Hope you all will join us in our ongoing challenge at Through The Craftroom Door
 
Thank you,
Vrajangna Patel.


Tuesday, August 29, 2017

Baby

Hello friends,
I am back on Through the craft room door blog with a new project.
This week I have created a CAS envelope using Baby image from our sponsor Wink wink ink


For the envelope I used papericious Incredible India pattern paper.
Die cut sentiment from gold foil using DCAM die. Finally layered the baby image at the other end.
Hope you all will like it. Don't forget to participate in the ongoing challenge. It's fun.

Thank you,
Vrajangna Patel.

Tuesday, August 15, 2017

Spiral

Hello friends,
I have a new mixed media canvas for Through the craft room door.
The challenge is as always, anything goes. The sponsor this week is Crafts and Me

So getting back to my project
I used a fabric textured paper on canvas.
Took a chipboard frame, painted with shimmer paint and added pearls. I placed the spiral image in the frame and decorated with some handmade flowers.
The Spiral image was coloured using zig clear brushmarkers.
Hope you all will like it.


Thank you,
Vrajangna Patel.

Tuesday, August 1, 2017

Tanith

Hello crafty peeps,
Very excited to share my first DT post for TTCRD.
we have a generous sponsor Nikki Burnette for this week.
A bit about the sponsor
My name is Nikki Burnette and I am the artist of all the artwork that you see on this website! I am originally from Cleveland, Ohio, but I currently reside in Columbus, OH with my loving husband of 5 years, our daughter Ariana and our two adorable cats: Jensen and Willow. My daughter and kitties provide constant inspiration for me!
I have been an artist my entire life, but began my professional fantasy art career when I began to sell ACEOs on eBay in 2006. You may have heard of them, but in case you haven't, ACEO stands for Art, Cards, Editions and Originals. They are miniature paintings measuring 2.5x3.5" and are highly collectible. I was fortunate to be well received in the ACEO community and started to grow a fan base. People started asking for originals and prints in bigger sizes and they also wanted a variety of products featuring my artwork. So I started to branch out and over the past 8 years it has turned into something that I feel so fortunate to have now. My art is collected worldwide and I'm licensed with a variety of different companies. I have also been lucky enough to be published in a book and a few magazines and online publications. I also attend fairs and conventions across the Southeast and have recently had the privilege of having my artwork on the cover of the ImagiCon 2010 program cover!
I have been asked before "Why fantasy art? And this is my response:
Fantasy art is where my heart lies. I love being able to escape the reality of our world for even just a few hours and enter a new fantasy realm where witches play tricks on Halloween Night, fairies fly around the sweet smelling rosebuds, and mermaids swim gracefully through the water with their dolphin friends.
I mainly use watercolor and ink to create my fantasy fairies, witches, vampires, pirates, steampunk and mermaids and offer my art in many different sizes including ACEO (2.5x3.5"), 5x7", and 8x10". I turn my original art into a variety of items to offer you a fun way to experience my art! I create hand-embellished limited edition prints, custom paintings, magnets, stickers, bookmarks, pocket mirrors, buttons, coloring pages and more! These are all made in my studio and shipped to you by me, the artist!
I feel so privileged to be able to do something that I enjoy so much every day and am thrilled that you have taken the time to read a little bit more about me and my art! Thanks for stopping by!
All images are copyrighted © by Nikki Burnette. Any use of images is strictly prohibited without direct consent from the artist.

The prize is 3 digital stamps.
I have used the image entitled "Tanith" for my mixed media card.


Don't forget to participate in the ongoing challenge by clicking TTCRD BLOG 

Hugs
Vrajangna.


Tuesday, July 25, 2017

Birthday card

Hello friends,
I am back with one more card for the challenge at Paru's card making challenges.
this month the theme is "Birthday"
So here is my card

For this card i have used bielo paper, distressed it with peacock feather distress ink. i have created my own stamp using google image and colored it with zig clear brush markers. Added a butterfly from Kaisercraft stamps, colored with zig pens and also used wink of stella clear over it.

Hope you will like it.
Would like to enter it to following challenges

Paruscardmakingchallenges


Thank you,
Vrajangna.


Birthday cards- Bring on the cake

Hello friends,
A short and quick post to show the birthday cards i created for this month's  Paru's card making Challenges.

You can visit the blog by clicking HERE
Back to my card, i made it using cheery lynn card cover die and digi image "ÿou blow me away" i got from my previous DT kit.
I used white cardstock for die cutting. Layered it over marun shimmer cardstock. Used Studio g tag and sentiment stamp. Added butterfly from kaisercraft stamps and digi image from sasayaki digital stamp.
You can check my other cards made using same set by clicking HERE.
I coloured the images using zig clear brush markers.
Hope you like my simple yet cute card.
Entering it to following challenges

paruscardmakingchallenges


Monday, July 24, 2017

A potion of Love

Hello friends,
I am back after a long time but with some new craft work.

Today i would like to share with you a love album created using "Blush"paper pack from Papericious which i received from Imagintions as my DT kit.
So lets get started and let me take you to the details of the album.

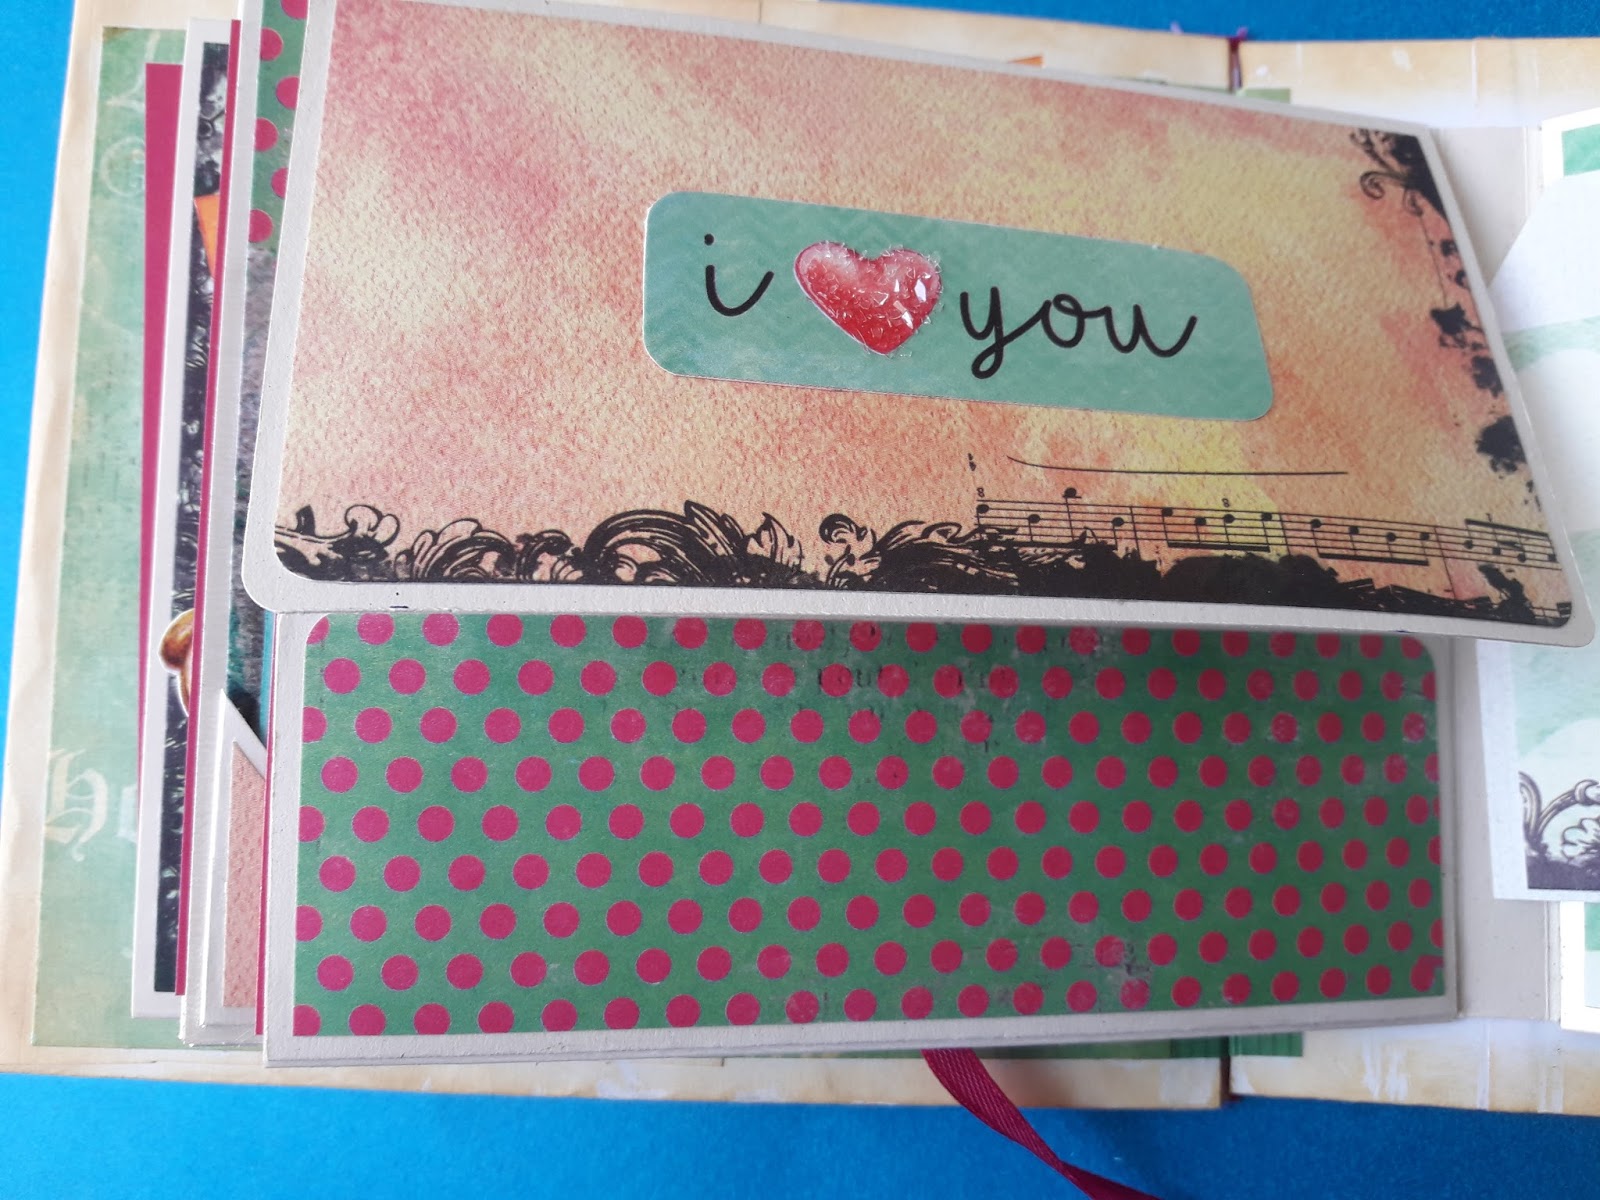
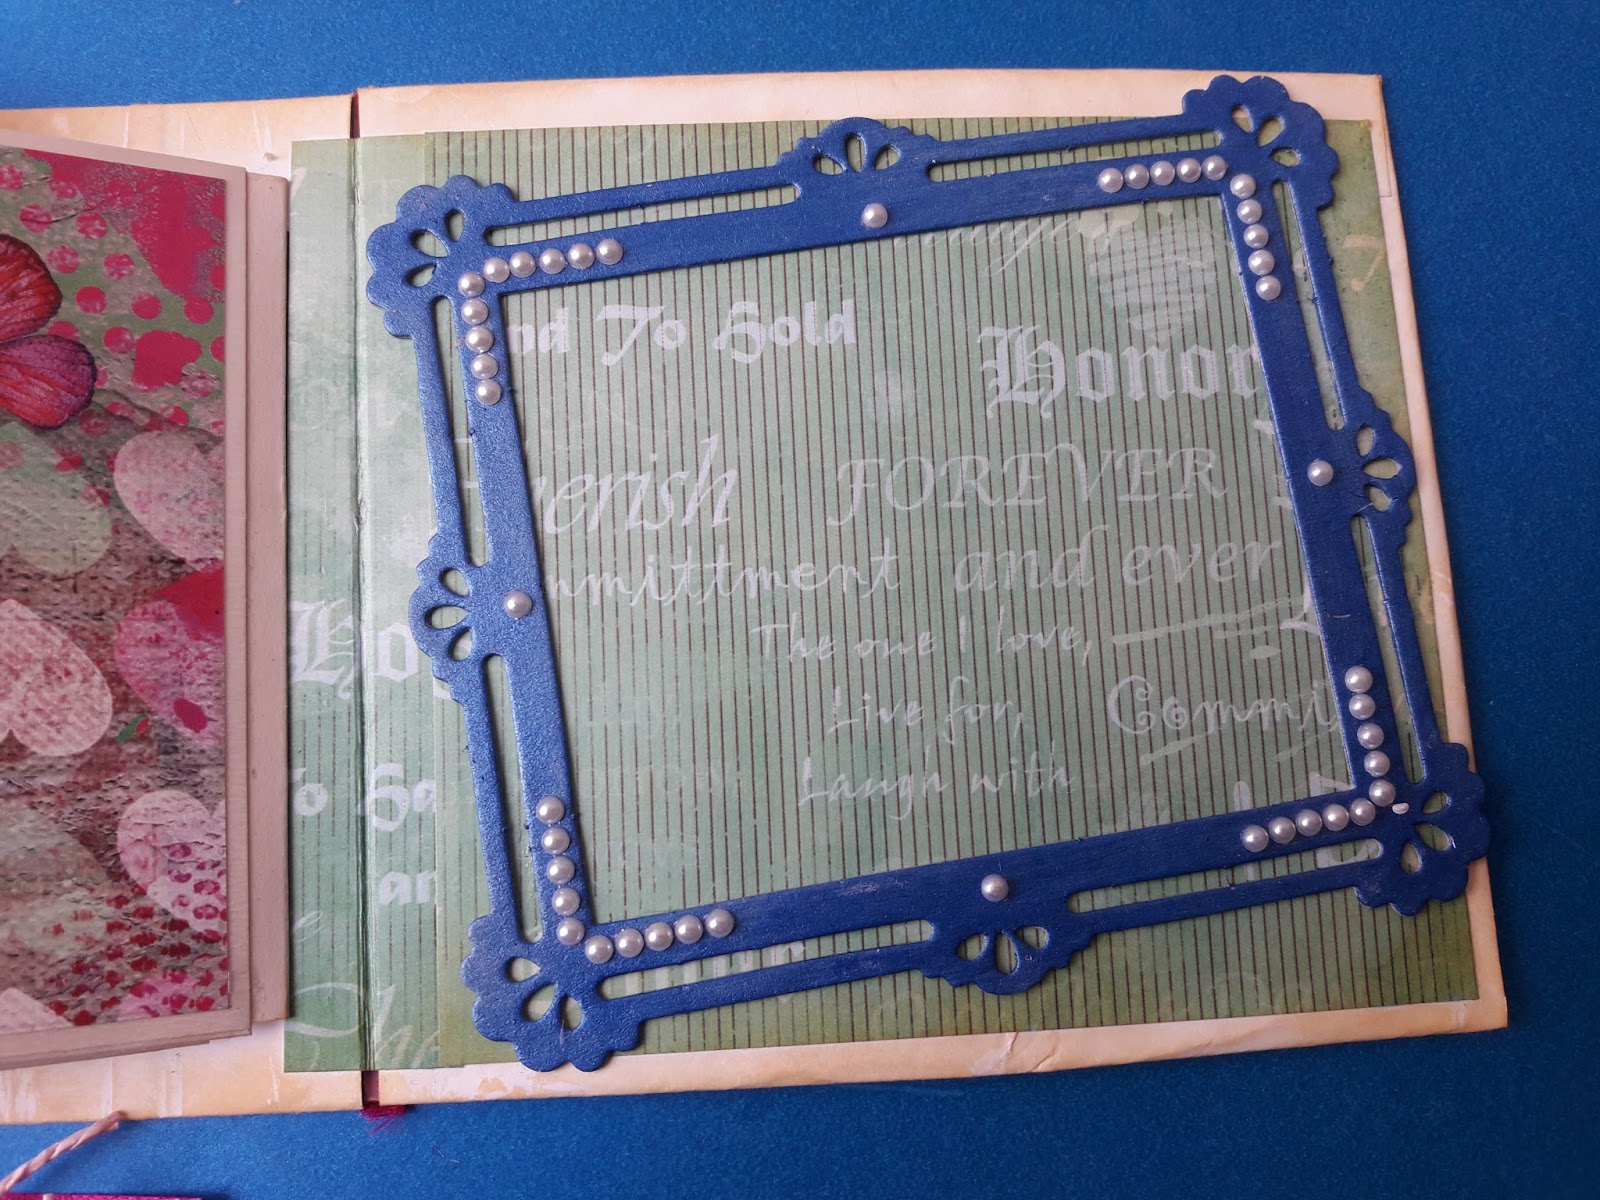
For the cover i have used prima die , chipboard frame from Itsy bitsy. mulberry flowers, velvet lace at the joints, sentiment from paper pack.
The papers are so pretty that it cuts my heart to cut them.

This album was made as an engagement gift him to her. I used the chipboard cutouts from Itsy bitsy 3d raw chipboard embellishments, painted them with metallic paint and decorated using pearls.

These are the pages created using the wonderful BLUSH paper pack.

The butterfly is from a sheet provided with the paper pack
this pack even has a sentiment sheet perfectly matching the papers and theme.
I created a pocket with a sentiment on top which was coated with frosting powder from Papaericious provided in my Dt kit from Imaginations.


The outer cover was deorated with velvet lace, die cuts and embelishment from paper pack coated with glossy accent and frosting powder.
hope you all will like my creation.

I would like to enter it for following challenges

http://papericiousindia.blogspot.in/2017/07/papericious-july-challenge-tic-tac-toe.html
i have used chipboard, pattern papers and lace.